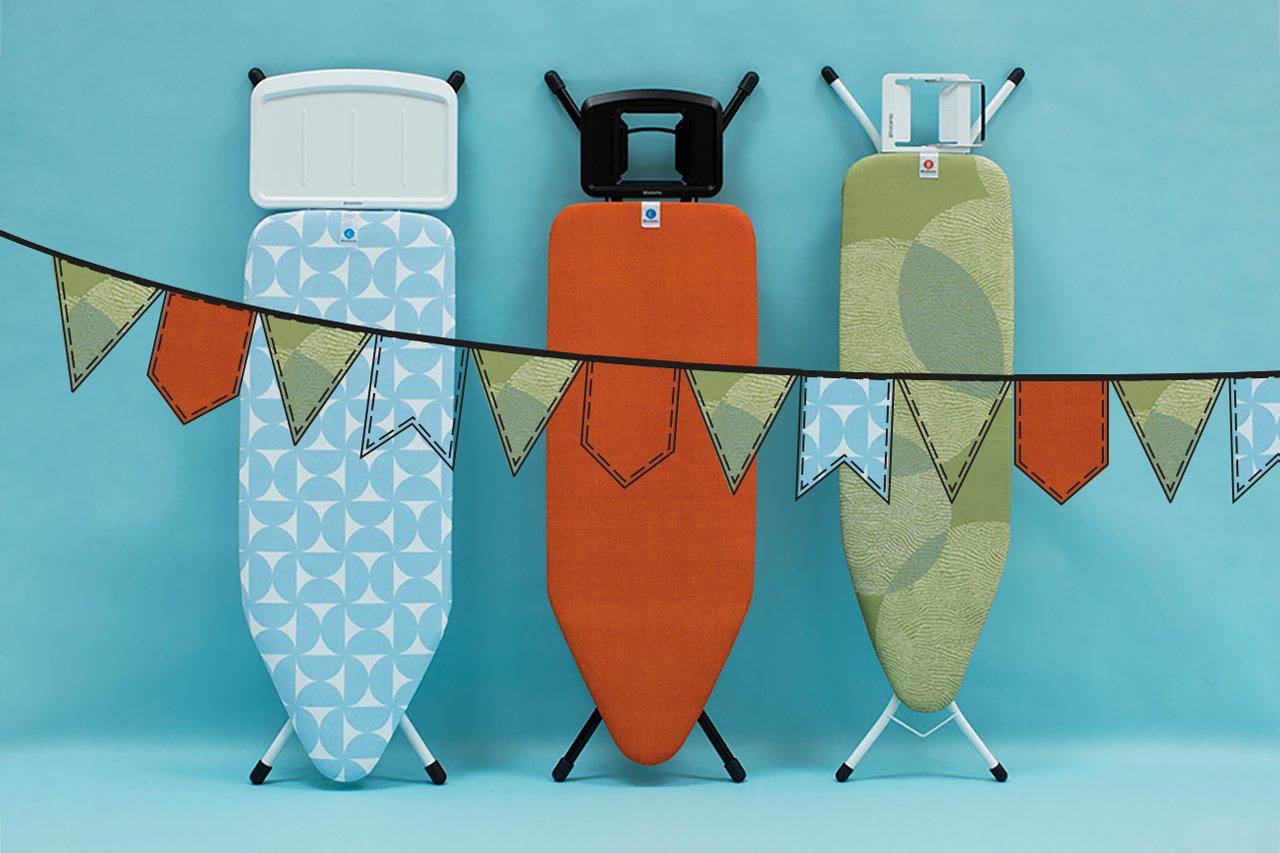
At Brabantia we want to make homes and lives more beautiful. And the planet too! That is why we design recyclability into all our products. But you know what is even better than recycling? Upcycling! Creating great new items from things you no longer need. Like your Brabantia Ironing Board cover. With a bit of effort and some creativity, it can become bunting, a potholder, a case for your sunglasses or a sleep mask. And the packaging of your new cover can become a cardboard photo frame.
Let's upcycle!
Party time - from ironing board cover to bunting
Does your Brabantia Ironing Board need a new cover? Don’t throw away the old one – upcycle it into bunting! A fun and reusable alternative to plastic or paper garlands. And totally you!
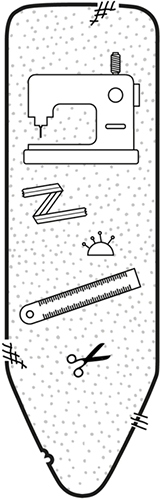
You need:
Step by step:
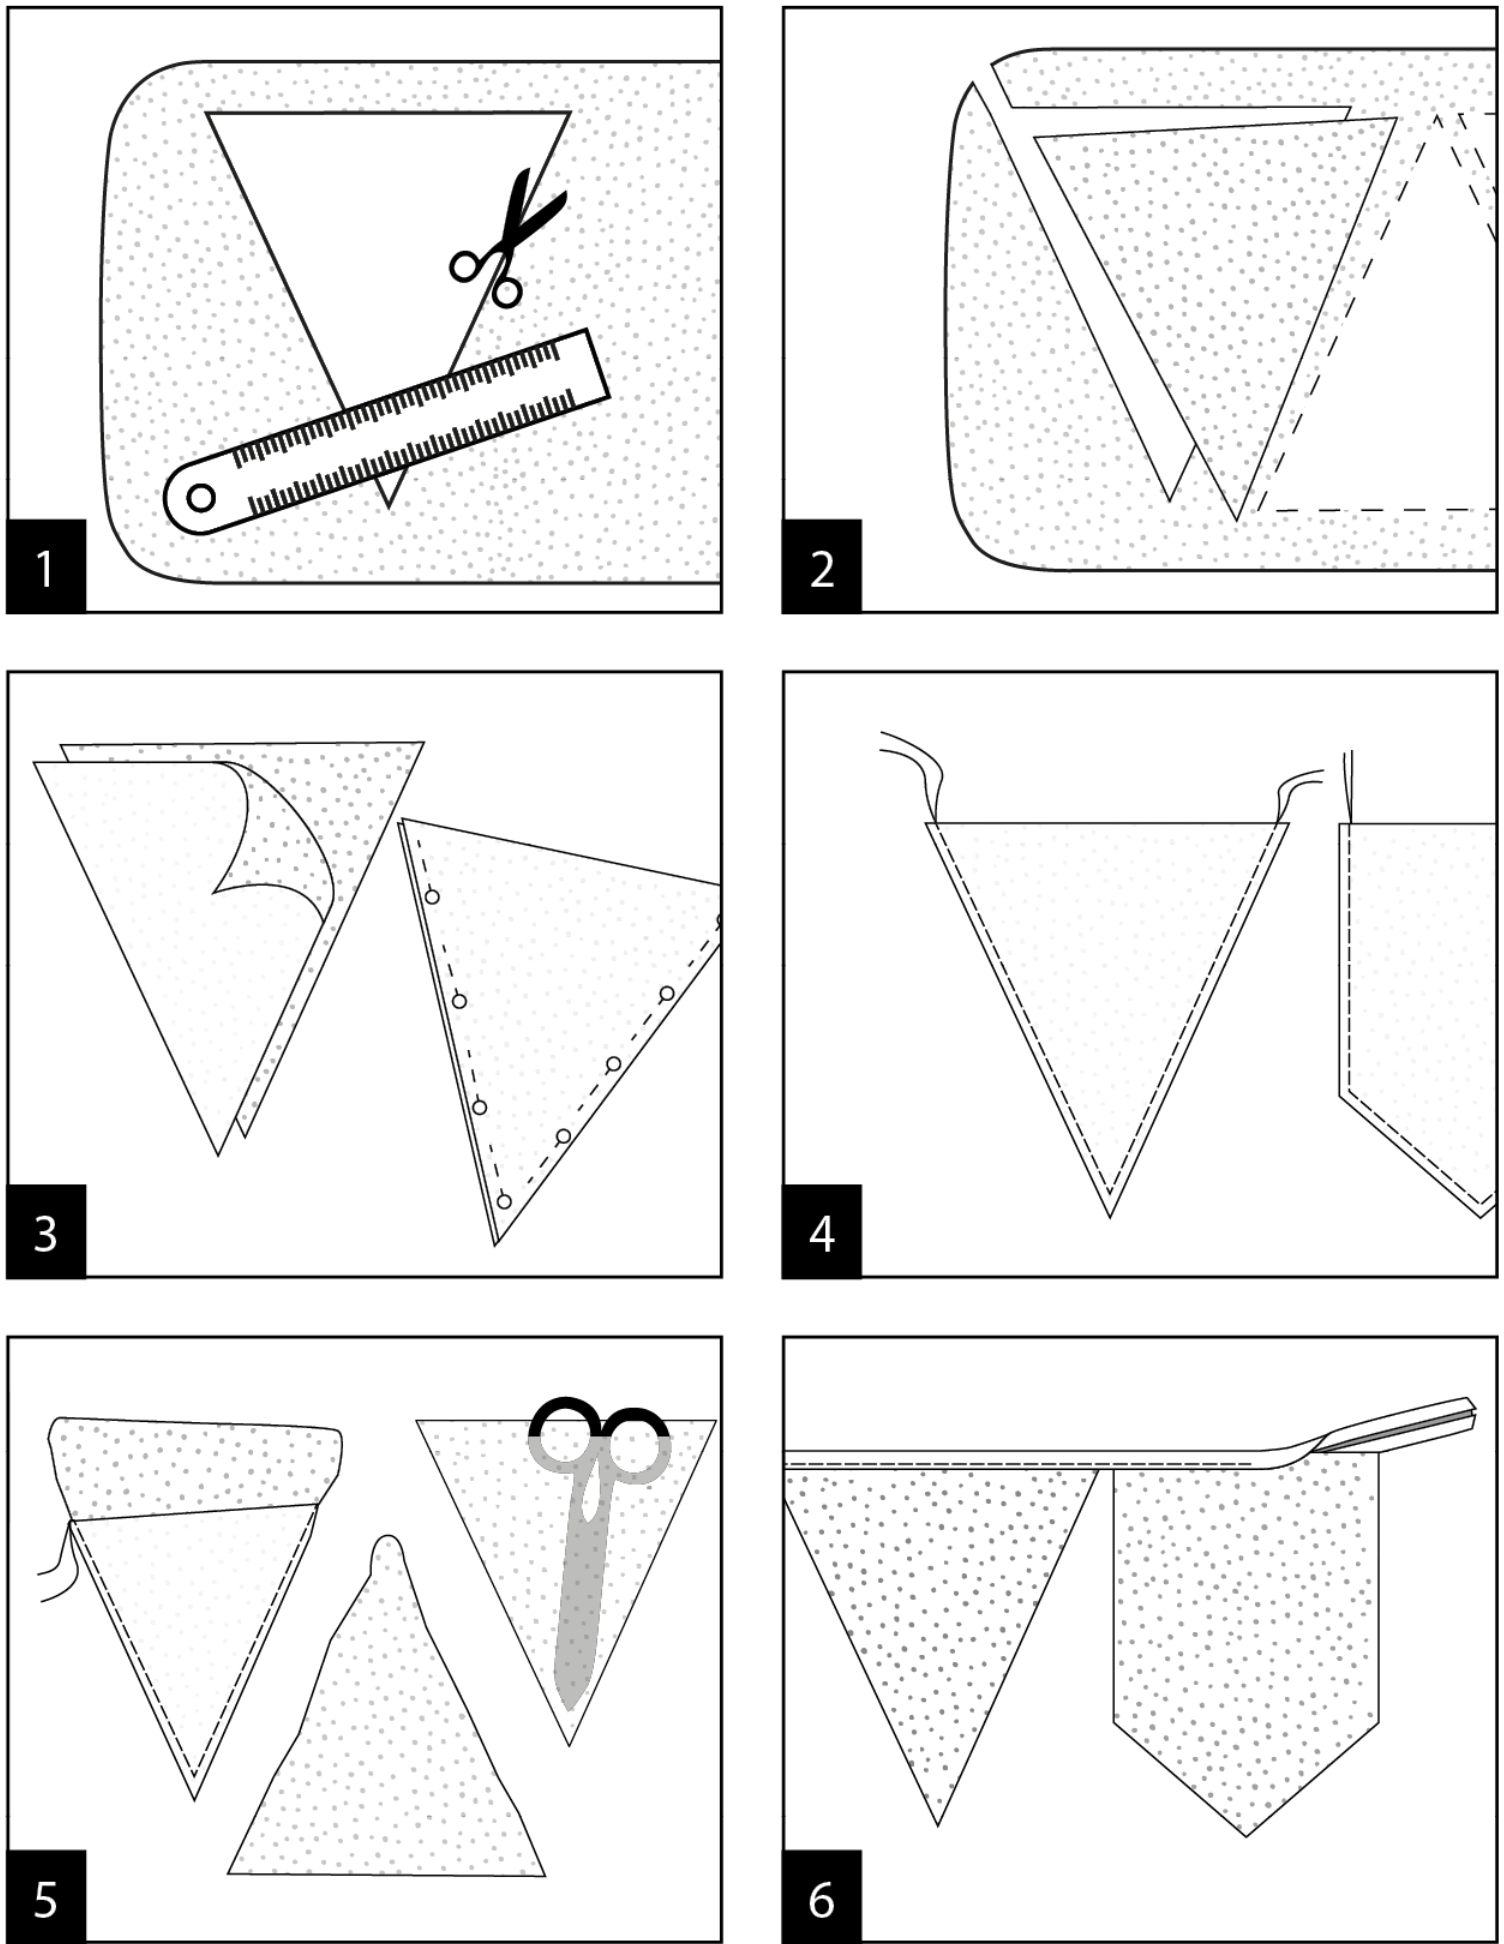
1. Pick a model and cut it out.
2. Pin it on the cover and cut along the edges. Cut 2 pieces per flag.
3. Stack 2 pieces, insides out, and pin them together.
4. Sew the edges (keep 0.5 cm of seam), leaving the top open.
5. Turn your flag right side out.
6. Stitch the flags and bias tape together
So, join the upcycling party and create your own bunting. Surprise us with your creativity, share your pictures.
Into upcycling?
We created some other DIY Ironing Cover ideas for you. Or for someone else, because these items make great and personal presents too!
Turn your old ironing board cover into pot holders
Did you know that pot holders are made from the same fabric as ironing board covers? Why not turn it around, and make some cute potholders from your old ironing board cover? Better for your hands, your wallet, and the planet! And with this template and easy steps, anyone can do it.
Let’s get sewing!
INSTRUCTION POT HOLDER
1. Pick a model and cut it out.
2. Pin it on the cover and cut along the edges. Cut 3 pieces per pot holder to make sure it’s thick enough.
3. Stack 3 pieces, insides out, and pin them together.
4. Sew the edges (keep 0.5 cm of seam), leaving one side open
5. Turn your pot holder right side out.
6. Fold in the opening and pin.
7. Top stitch all the way around, sewing the opening closed
8. Want to make the perfect pot holder? Quilt diagonal stitches to keep the terry cloth from rippling or shifting inside.
Proud of your work? Share your new pot holder on Instagram and tag us! @brabantia
From ironing board cover to sunglasses case
Protect your sunglasses from scratching in style with a self-made sunglasses case. And don't buy fabric for it, use your old ironing board cover. This way you have great quality fabric with soft lining and protection, and it is better for the planet too!
INSTRUCTION SUNGLASSES CASE
1. Cut your old Ironing Board Cover into rectangles of 20 x 12 cm. You will need 4 total.
2. With right sides together, sew around the outer edges of your rectangles, leaving one of the short ends open.
3. Turn it all right side.
4. Press it flat and top stitch all the way around the top
Ready to shine with your new sunglasses case?
Tired of ironing? Turn your ironing board cover into a sleep mask
Tired of ironing? Make your own sleep mask out of your old ironing board cover. This soft sleep mask will help you fall asleep faster, increase the quality of your sleep, and allow you to sleep in a light room. A great present too - and it takes not even 30 minutes to make this cute sleep mask yourself!
INSTRUCTION SLEEP MASK
1. Cut out the template and pin it on the cover.
2. Cut along the edges. Cut 2 pieces per sleeping mask.
3. Measure the length of the elastic band (around your head) and add 2 centimeters.
4. Now take the 'front fabric' and pin the ends of the elastic band to the sides (where the band will actually sit).
5. Now place the backing fabric on top. Pin everything now and sew on by hand (or sewing machine) about cm from the edge. Leave 3 – 4 cm open at the top.
6. Turn your sleep mask right side out.
7. Now sew the last part of the seam closed, and your eye mask is ready!
Happy with your work? Surprise us with your creativity!